Organizing the Public Data about a Researcher
In a previous post, I described how to formalize the information about a research organization using Wikidata. This post follows the same theme, but about this time about a given researcher. Not only can you follow this post to make your own scientific profile easier to find and navigate, but you can also use Wikidata to improve the profiles of your co-workers and collaborators.
There are several other places besides Wikidata for putting your scholarly profile. The first (and worst) is by making a resume in an awful Word document or PDF. Much like what ends up in english prose in scientific texts, this is where knowledge goes to die. The next less bad is to put it in a closed repository like LinkedIn, ResearchGate, Scopus, Loop, or one of many others. These might be nice, but don’t forget they’re companies and do not want people to be able to use their troves without paying up. The runner-up is ORCID, which is absolutely amazing for providing persistent identifiers to individuals, linking published work in high-profile repositories like PubMed, and in some cases linking grants. While it will be the cornerstone of this tutorial, it ultimately falls short as a tool for integrating the wide variety of information available about any given researcher. So who’s the winner? Wikidata, of course! It has an incredible flexibility for creating new relationships and a first-class notion of scholarly works, awards, affiliations, employers, and the relationships between them that make it a perfect place for storing information.
Anyone can edit Wikidata, meaning you can create an entry for your curmudgeonly PI who wouldn’t be caught dead making a profile on this new thing called “the internet”. There are three notability criteria for what’s allowed to be added as an item in Wikidata:
- References another Wikimedia commmons page
- References a clearly defined entity/concept that has meaningful external provenance
- Fulfills a structural need to make statements in other items more useful
Adding researchers usually fits one or both of criteria 2 or 3. Further, there are several people in the bibliometrics community who have created bots for importing and aligning information from external sources that make the entries that you supply so much more rich overnight (e.g., some bots automatically translate the descriptions of pages into new languages, some import publication metadata, some align identifiers with external resources).
Let’s get to it.
Step 1: ORCID
The ORCiD identifier is the single unambiguous identifier for each researcher.
As unique as you are, the truth is your name probably isn’t all that unique. ORCID was founded specifically to help solve the problem of name ambiguity in research. Want to learn more? Start here! #openscience #openresearch #namedisambiguityhttps://t.co/Q2J1bVrolc
— ORCID Organization (@ORCID_Org) August 17, 2021
If you don’t have one, it only takes 2 minutes to make one here. ORCID profiles look like a bunch of sets of 4 numbers/letters with dashes between them. Mine is 0000-0003-4423-4370. You can use a resolver like the Bioregistry to look up web pages on ORCID IDs with links that look like https://bioregistry.io/orcid:0000-0003-4423-4370 or more specifically use ORCID’s web address directly like https://orcid.org/0000-0003-4423-4370.
It’s super intuitive how to put information in here. There are a few minimal things to include to make it possible for people to find you:
- Include any variations on your name that might appear in publications. In my
professional life, I write out my name in full, including my middle name, but
there are all sorts of variations that pop up including:
- Charles Hoyt
- C.T. Hoyt
- C. Hoyt
- Hoyt, C.T.
- Hoyt, C.
- Hoyt, Charles Tapley
- Include your education. Since most people reference their highest academic degree in prose, this again helps people find you and disambiguate you from other people. Even ORCID knows about this
- Make sure you set each field to “public” so everyone can see it! These are marked as private by default, so make sure you click the following box (thanks to Ann Reynolds for pointing this out)

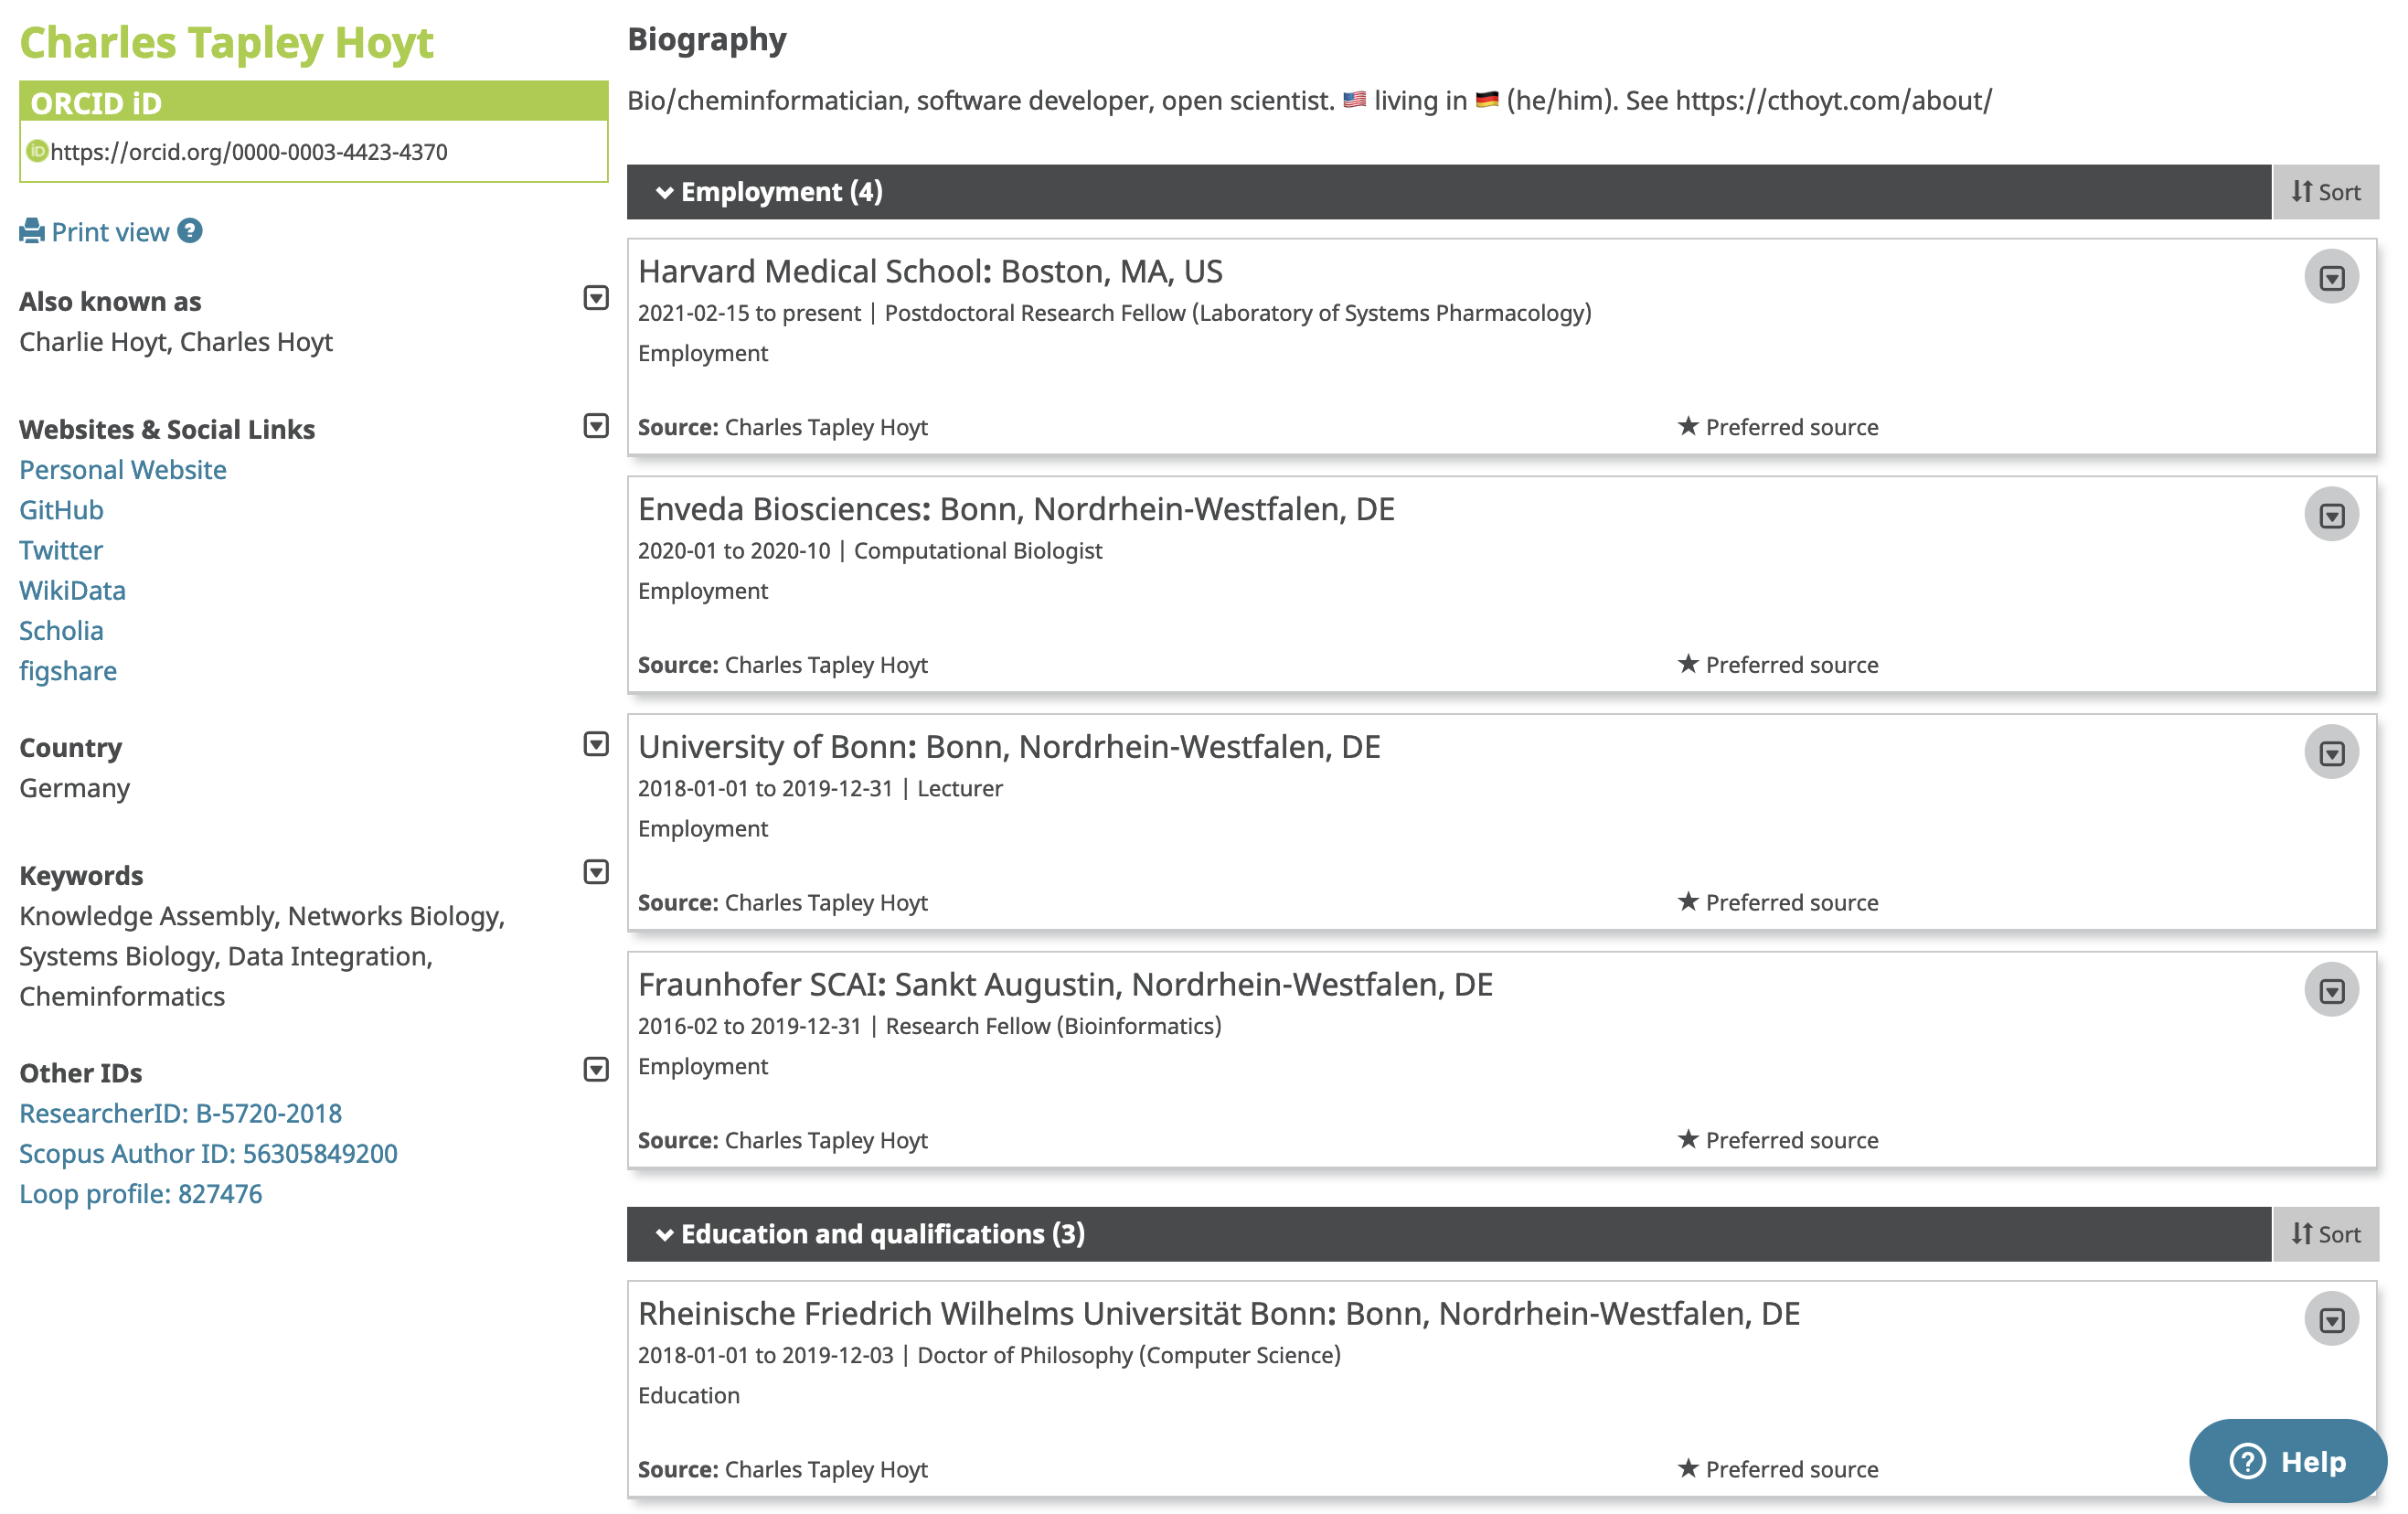
I happen to enjoy spending time to maintain my ORCID profile, and here’s what it looks like:
Step 2: Wikidata
I’ll reiterate the short summary I gave on Wikidata from my previous post:
Wikidata is an open, community-curated platform of knowledge. It stores entities, their relations to other entities, their relations to scalar values, and added context for each relationship. Typically, relationships have a subject, relation, and object and can be read like a simple sentence in the english language.
There are lots of working groups that maintain its ontology (i.e., the rules for how curation should be done) around certain domains, such representing organization structures. This means there are lots of tools already built in to Wikidata for potential curators like you and me to create rich pages for their organizations.
One of the curation rules shared across all domains in Wikidata is that each entity should have a “type”. This means on the page for Albert Einstein, there is a relationship stating he is an instance of a human. The “instance of” item on Wikidata is a special kind called a “property” and is one of the places where the ontology lives - there are specific rules for each property on how it should be used in a relationship, like what’s allowed to be the subject and what’s allowed to be the object. For”instance of”, there are no rules about the subject. However, the object of the relationship where “instance of” is the property should be a “class” of thing. It wouldn’t make sense for the type of another entity to be an instance of “Albert Einstein”.
One thing to note: use the Wikidata search bar to see if there’s already a page for the person you’re looking for! It’s a big problem if there are duplicate entries on Wikidata. Scholia also has some tools for looking people up by ORCID or other identifiers that might be helpful.
Ontology for Researchers (and other Humans)
Unlike an organizations, all researchers will have the type of human. Typically, humans have certain pieces of information associated with them using the following properties:
- sex or gender - for humans, this can include: male, female, non-binary, intersex, transgender female, transgender male, and agender.
- country of citizenship
- native language - there are Wikidata entries for most (if not all) common languages
- languages spoken, written or signed - additional non-native languages. It doesn’t have any information about levels, so I’m a bit hesitant about advertizing my B1 level of German!
- nickname - a slightly more specific place to put a nickname than the synonyms list at the top of the page. For example, I go by Charles Tapley Hoyt professionally, but use Charlie in my everyday life
- official website - one or more personal websites for the researcher
- official blog - one or more blog written for the researcher. It happens that my blog and personal site are on the same page.
I’d highly suggest doing all of these before moving on to the next few sections, which have quite a few bells and whistles.
Affiliations:
- educated at (P69) - links a person to the institutions at which they earned their bachelor’s, master’s, or doctoral degrees, as well as any other education.
- employer (P108) - the top-level organization that you’re associated with. For me at the moment, that’s Harvard Medical School. For specific departments or teams within the organization, you can use the “affiliation” property.
- affiliation (P1416) - useful for subdivisions inside organizations. For example, while I am employed by Harvard Medical School, I am appointed as a postdoc in the Laboratory of Systems Pharmacology, which itself has information about its membership within the Harvard Program in Therapeutic Science.
- member of (P463) - any professional societies, working groups, or other organizations. For example, I belong to the American Chemical Society.
- doctoral advisor (P184) - useful for building up academic trees. I asked my doctoral advisor about his doctoral advisor and actually ended up emailing him to find out some more information about my academic lineage. It turns out that there’s a lot of information in the Academic Tree website that gets propagated through to Wikidata already by bots. After I added a few missing links, I found out that I am in the lineage of Emil Erlenmeyer after whom the eponymous Erlenmeyer flask is named. Depending on if you left your doctoral work happy or not, you might not want to revisit this. Totally understandable.
Accomplishments:
- academic degree (P512) - the highest academic degree obtained (e.g., Doctor of Philosophy). Using the “qualifiers”, it’s also possible to add information about the doctoral advisor, when the degree was received, the opponents during the disputation (i.e., the examination committee)
- academic thesis (P1026) - make an entry for your master’s or PhD thesis, and link them to you this way!
- award received (P166) - make an entry for the awards you’ve received, then connect them here.
Some of the affiliations and accomplishments will require going even deeper into your curation and making additional Wikidata entries. For example, many awards probably don’t already have a Wikidata entry. Same is likely true about your academic thesis.
General External Account Links:
- GitHub username (P2037)
- LinkedIn personal profile ID (P6634)
- Twitter username (P2002)
- Mastodon address (P4033)
Academic External Account Links:
The ORCID identifier is definitely the most important, but Google and DBLP often pre-index researchers even if they have not got an ORCID, so this might be the best you can do for some researchers.
There are tons of other IDs you can link as well as other properties. When I was working on my Wikidata entry, I used Egon Willighagen’s as an example. I’d suggest browsing through ours to go to the next level.
Tutorial
I’ll refer back to my previous post on curating information about an organization, since it works basically the same way.
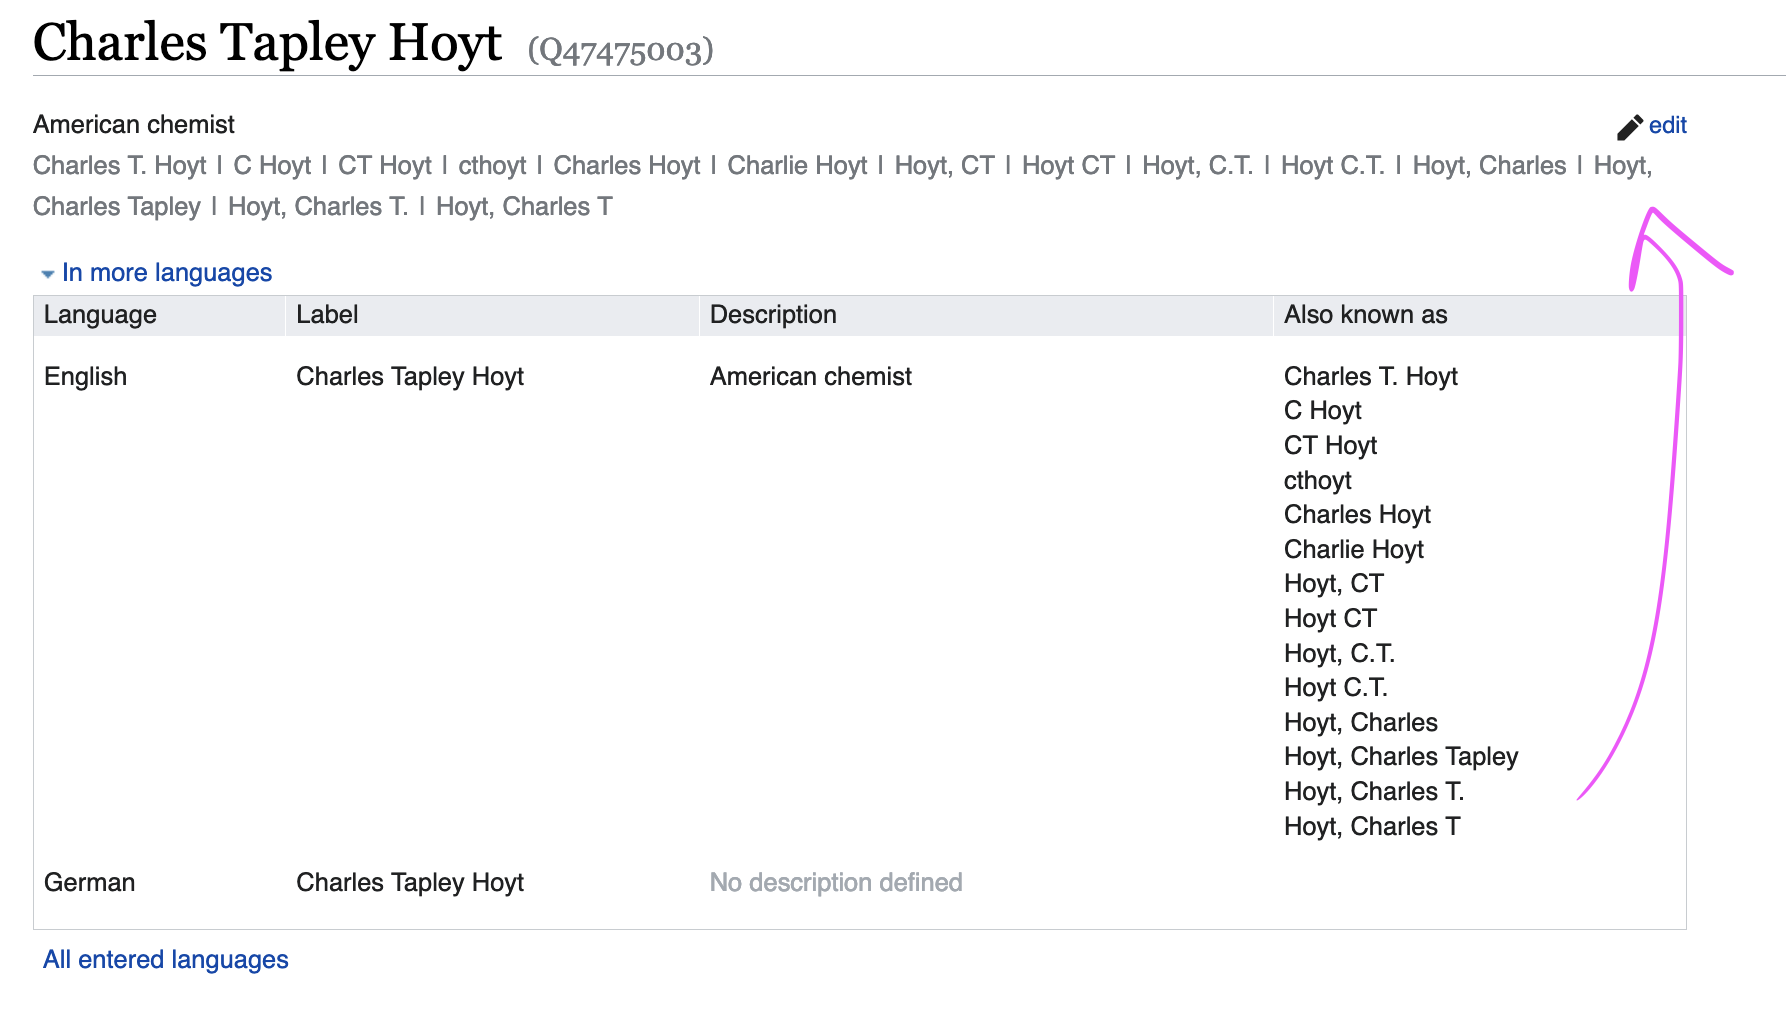
One of the important things I mentioned before is to add lots of synonyms for your name, especially in ways they might appear in journal articles.

Scholia
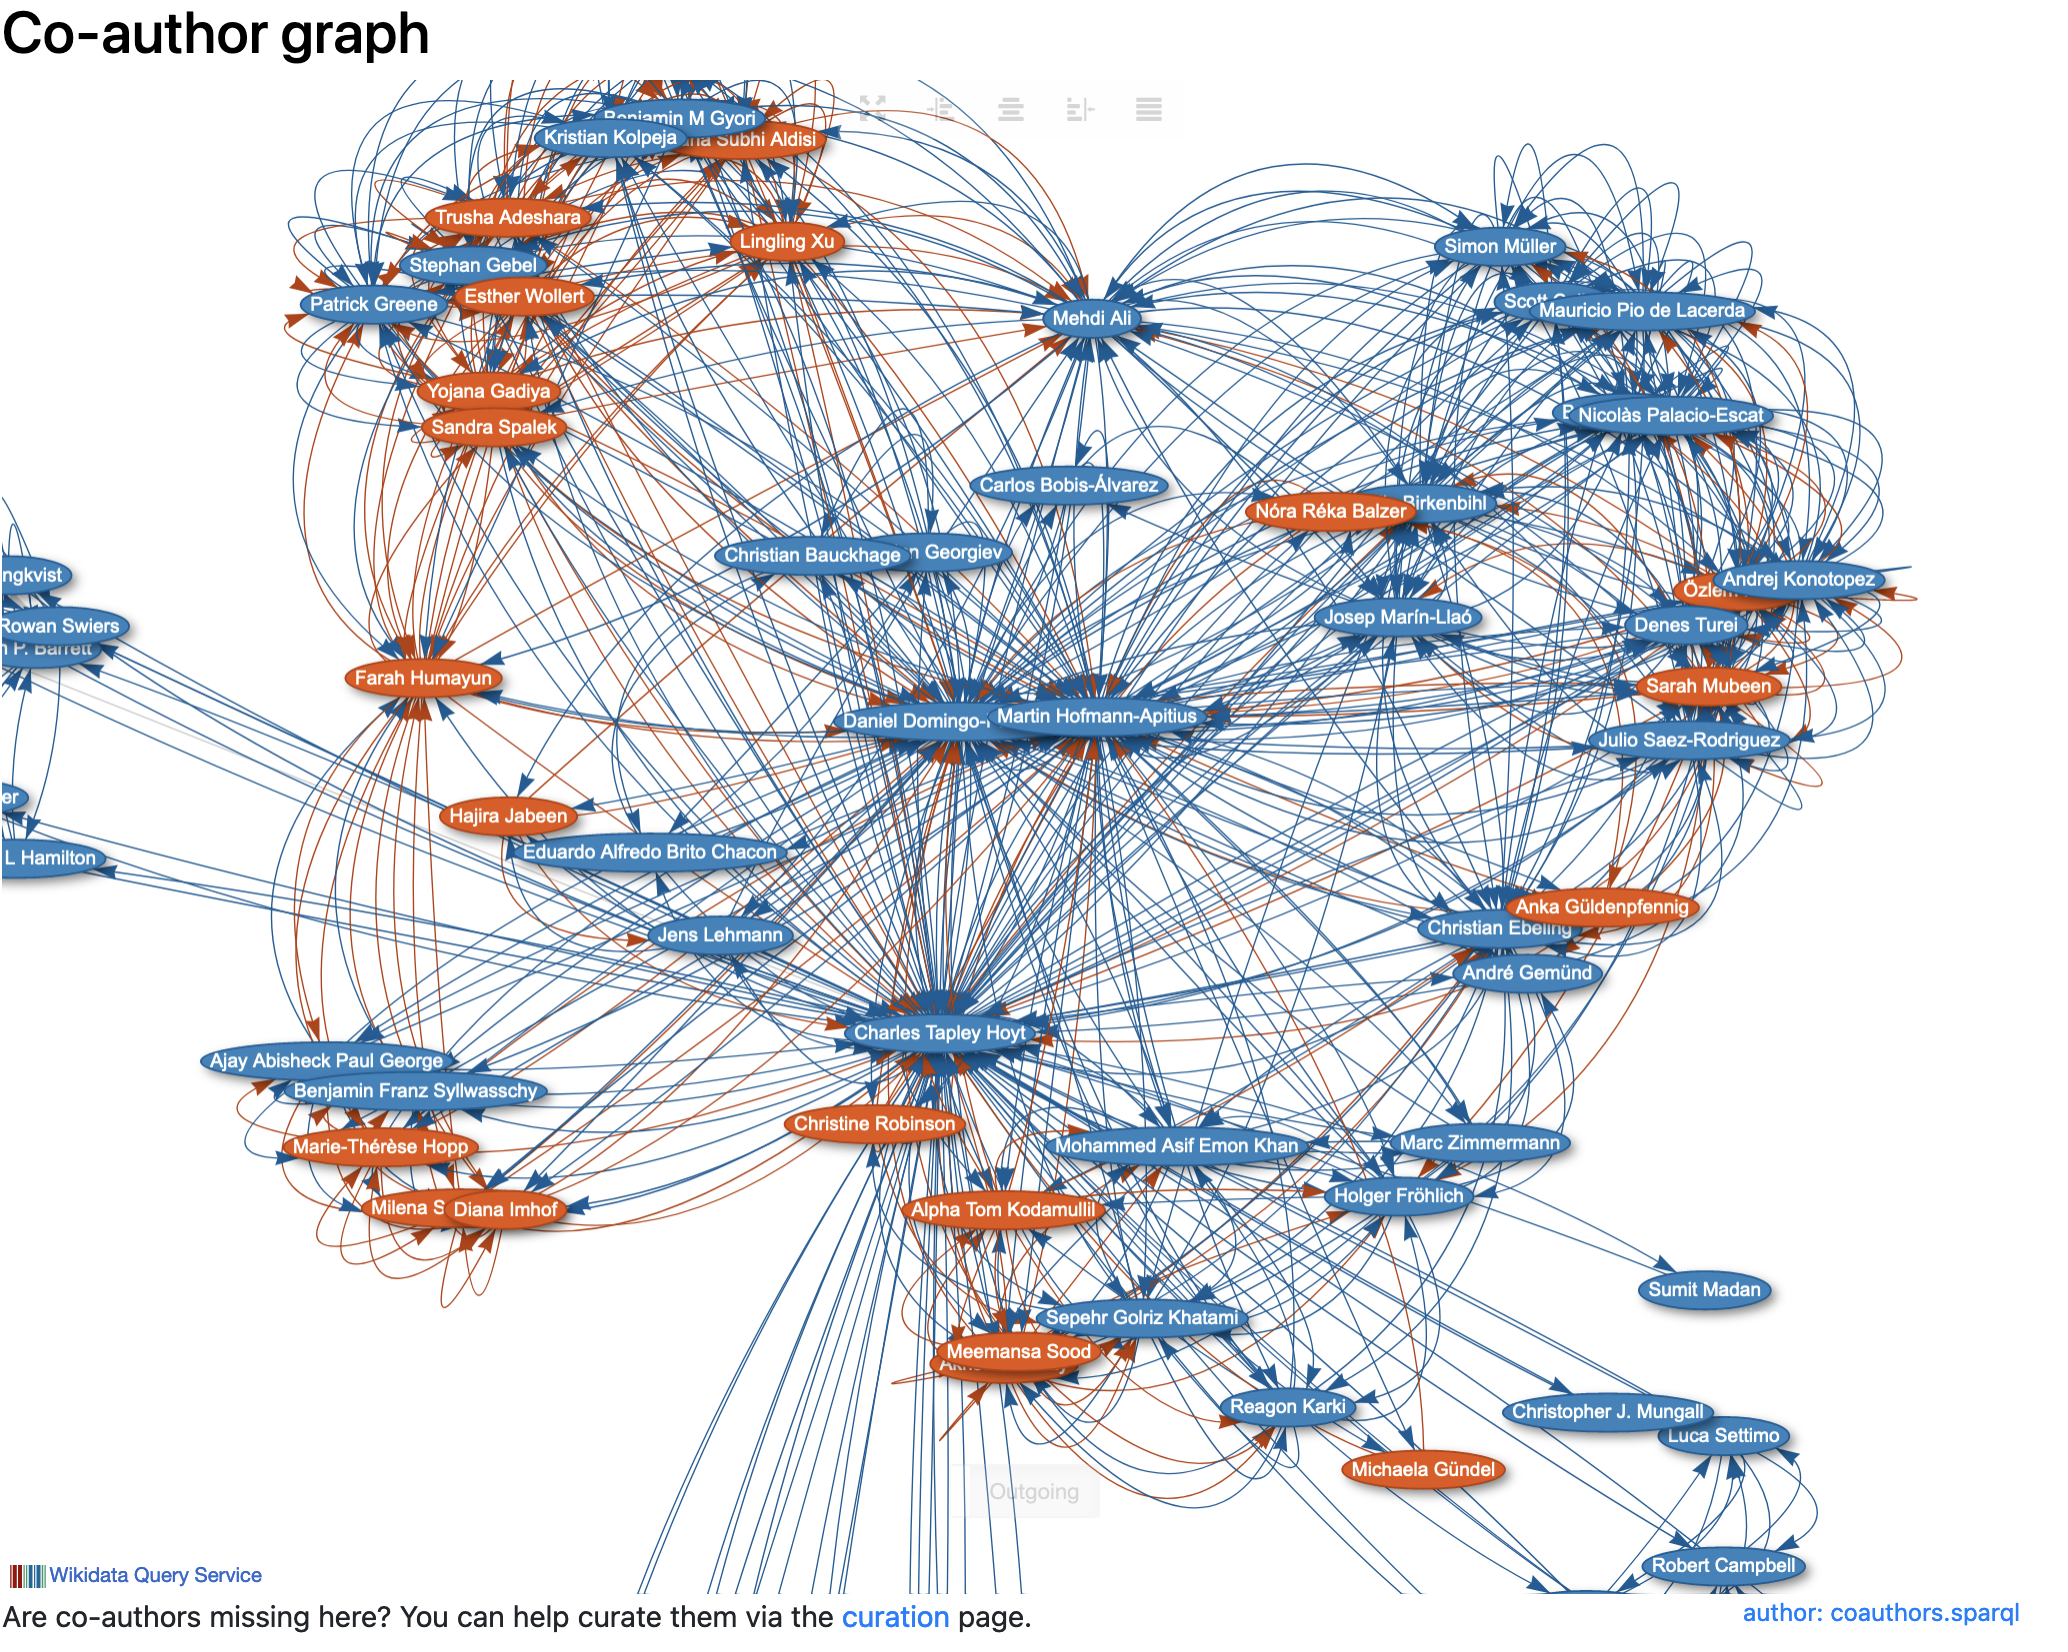
If you do a really good job curating information about yourself, your co-workers, and your affiliations, Scholia becomes a very powerful tool for showing information about you. For example, here’s my Wikidata page rendered by Scholia: https://scholia.toolforge.org/author/Q47475003.
One part that’s really cool is the co-author graph:

When you start off, there won’t be much here. Luckily, it has a curation link that takes advantage of the synonyms on the Wikidata and helps connect papers that are already on Wikidata to the given researcher’s page. Here’s the link for mine (though I keep it pretty up-to-date, and it’s likely empty): https://scholia.toolforge.org/author/Q47475003/curation
There’s quite a bit more with respect to getting papers and associations between researchers and events like conferences, but this is already a great place to start. See the next post in the series on curating your papers in Wikidata.
